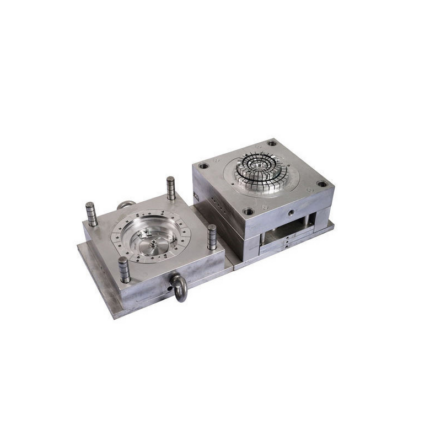
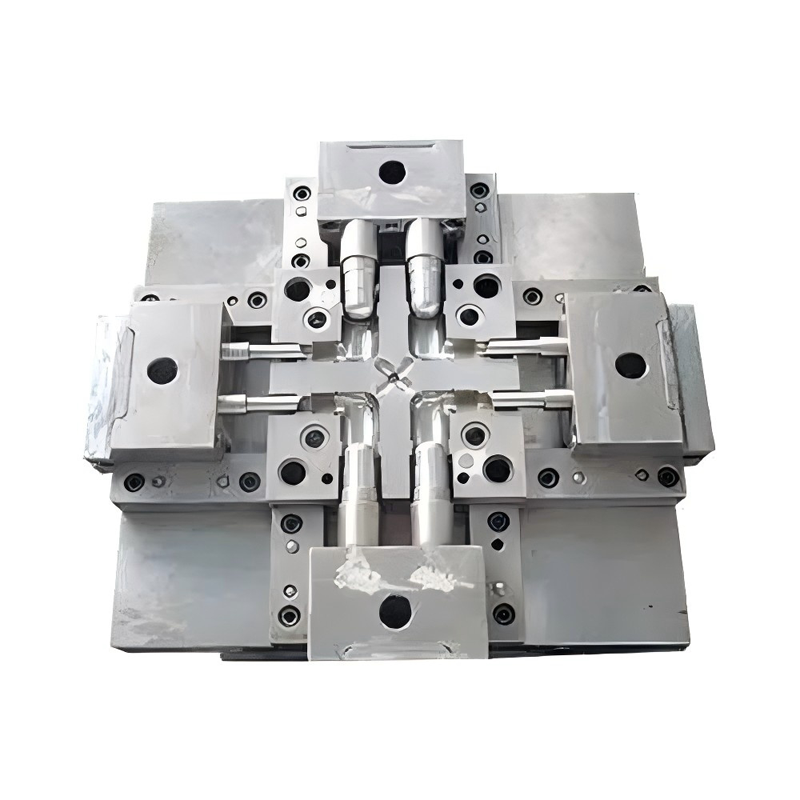
A plastic mold tool is a custom-designed mold used in the plastic injection molding process to manufacture plastic parts in high volumes. Made from strong materials like hardened steel or aluminum, the mold tool contains one or more cavities that shape molten plastic into the precise geometry required for each part. The tool is designed with intricate features, including the cavity and core, ejector pins to release finished parts, and cooling channels to regulate temperature and reduce cycle times.
The plastic mold tool is critical in ensuring that each part meets strict quality standards, with consistent dimensions and smooth surfaces. This tool is commonly used across industries such as automotive, consumer electronics, medical devices, and packaging, where high-precision, durable plastic components are needed. Although the initial cost of creating a plastic mold tool is significant, it is highly efficient for mass production, allowing for cost-effective and rapid manufacturing of identical parts over long production runs.
Basic Information
Mold Type: Plastic Injection Mold
Mold Material Options:P20, 718, 738, NAK80, S136
Mold Base Standards: HASCO, DME, MISUMI, JIS, LKM, etc.
Mold Runner System:Cold Runner / Hot Runner
Mold Gate Options:Slide Gate, Sub Gate, Pin-point Gate
Cavity:Single or Multi-Cavity
Design Software Supported:UG, PROE, CAD, SOLIDWORKS
Molding Equipment Used:CNC, Wire Cutting, Milling Machine, EDM
Compatible Raw Materials:ABS, PP, PC, PA6, PA66, PVC, POM, PMMA, PS, etc.
Packaging Method:Wooden pallet or carton
OEM Services:Available—please provide 2D/3D files or samples
Lead Time:Approximately 30 days
The Production Process of Tooling:
- Design for Manufacturability (DFM) Report
– Develop a comprehensive DFM report that evaluates the design’s feasibility and identifies potential manufacturing challenges. This includes assessing the product design for optimal moldability and cost-effectiveness.
- Mold Design
– Create detailed and precise mold designs using advanced CAD software. This step involves defining mold geometry, cavity layout, and essential features based on the product specifications and requirements.
- Material Selection
– Choose high-quality materials for mold construction, such as steel alloys or specialized polymers, based on the requirements of the product and the intended application.
- CNC Machining
– Utilize CNC (Computer Numerical Control) machines to precisely cut and shape mold components. CNC machining ensures high accuracy and consistency in mold parts production.
- Laser Cutting
– Employ laser cutting technology for intricate and detailed cuts in mold components. This process provides high precision and clean edges, essential for complex mold designs.
- Wire Cutting
– Use Wire EDM (Electrical Discharge Machining) to cut intricate details and complex shapes in the mold components. Wire cutting is critical for achieving high precision and fine tolerances.
- Grinding
– Perform grinding to refine mold surfaces and ensure smooth finishes. This process enhances the accuracy of mold components and removes any residual machining marks.
- Assemble Mold
– Assemble all mold components, including cavities, cores, and inserts, into a complete mold structure. This step involves fitting parts together with precision to ensure proper functionality.
- Stamping
– Apply stamping processes to create specific features or impressions on the mold. Stamping is used for adding logos, text, or other surface details as required.
- Sample Inspection
– Conduct thorough inspections of sample molds to verify that they meet design specifications and quality standards. This includes testing for functionality, accuracy, and overall performance.
- Mass Production
– Once the sample mold is approved, initiate mass production. This phase involves producing molds in large quantities, ensuring consistency and quality across all units.
- Cleaning
– Clean molds thoroughly to remove any residual debris or contaminants from the manufacturing process. Proper cleaning is essential to maintain mold quality and ensure optimal performance.
- Packing
– Package the completed molds securely to prevent damage during transportation. Packaging includes protective materials and labeling to ensure safe and accurate delivery.
- Delivery
– Coordinate the delivery of molds to the client’s location. This step involves logistics management to ensure timely and secure transportation of the molds.
- After-Sales Service
– Provide comprehensive after-sales support, including maintenance, troubleshooting, and any necessary adjustments. This ensures that molds continue to perform well and meet client expectations over time


